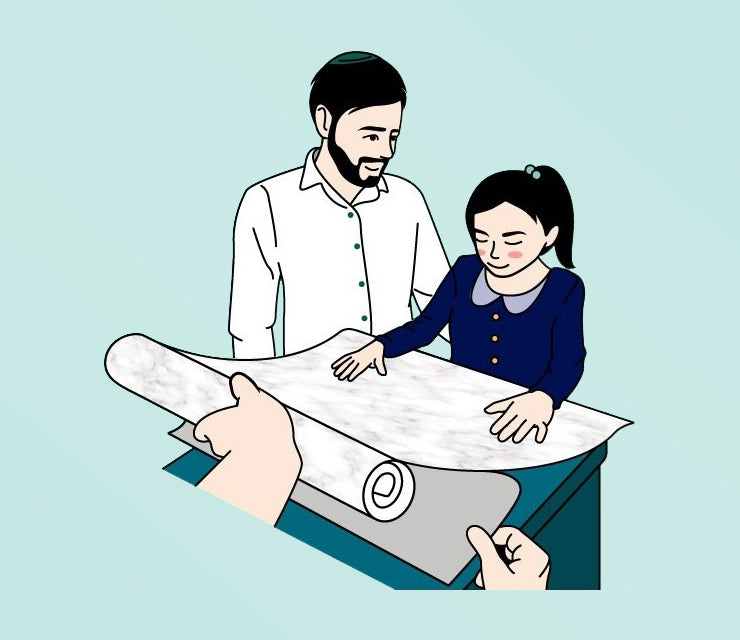
Dekal is a delightfully easy product to use.
Applying Dekal is quick and simple, and following these easy instructions will ensure the best application with minimal effort. Below, you'll find additional tips and tricks to make the process even smoother. For optimal results, please avoid using Dekal on oil-finished or painted surfaces.
How to Install Dekal
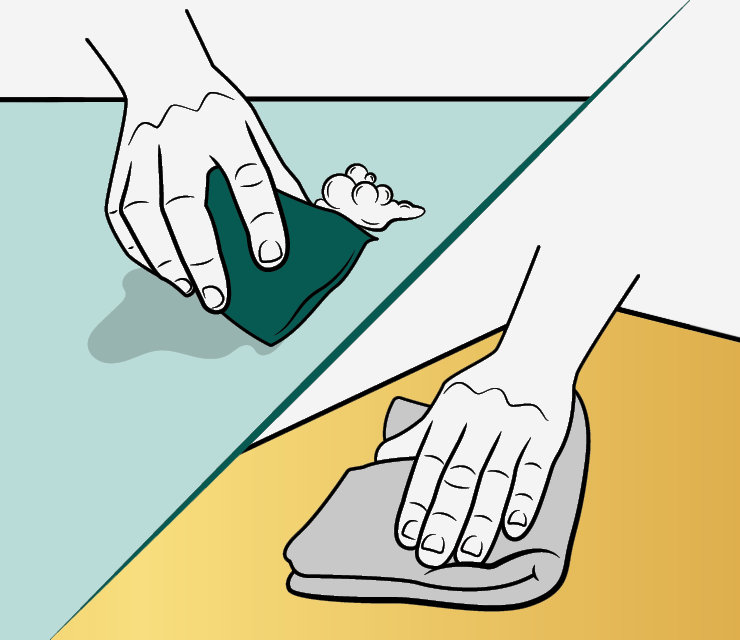
Before You Begin
Clean the counter of dust and grease and dry completely
Tools needed:
All you need are a few minutes and a few household essentials to Pesach prep your counters!
- Scissors
- Pencil or Pen
- Tape measure
- OPTIONAL: Applicator Kit with Smoother and Cutter
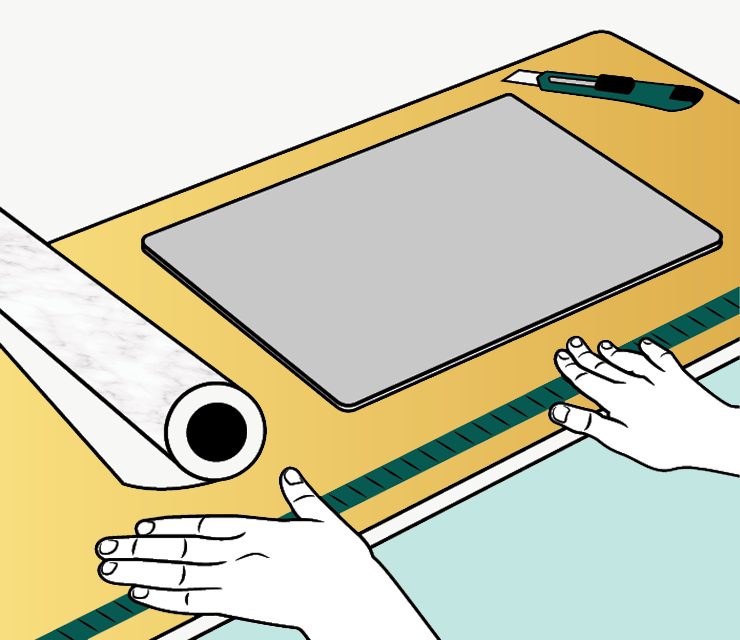
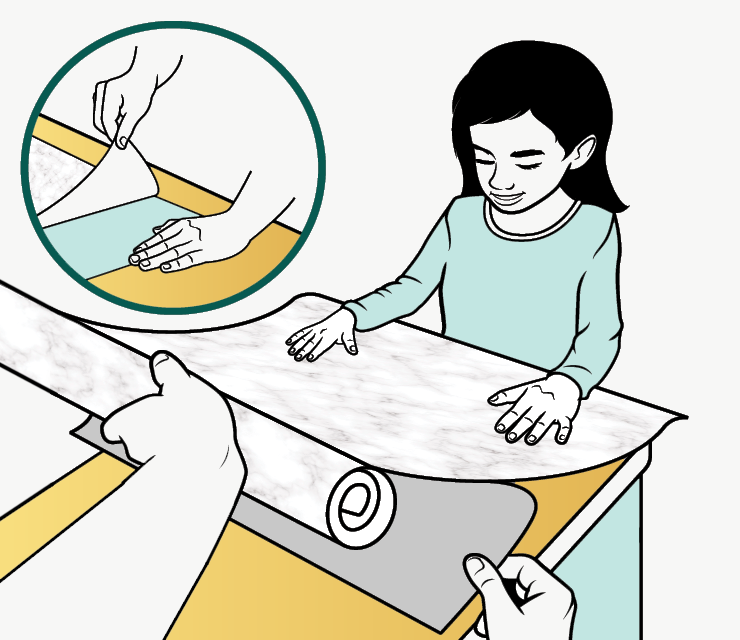
Step 1
Measure
Measure the counter plus lip and factor in a little excess of around ¼ inch. Transfer the measurements to the grid on the back of Dekal, marking where you need to cut.
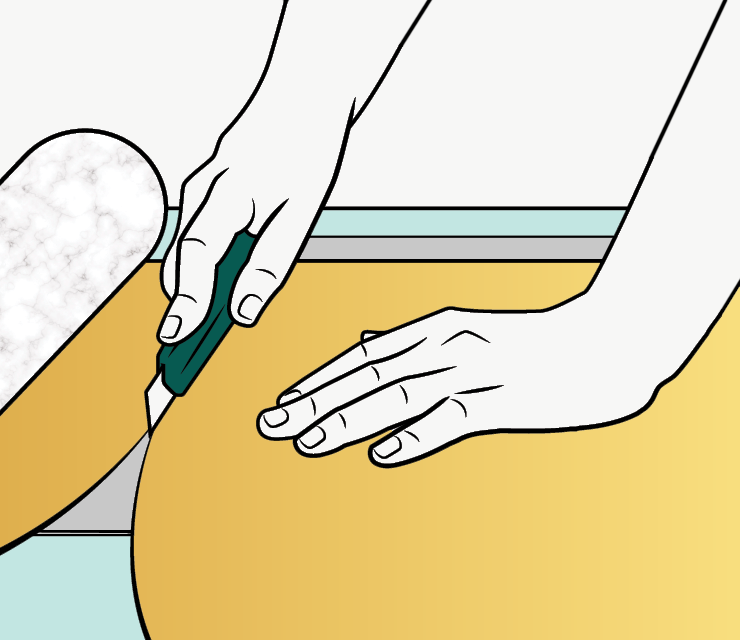
Step 2
Cut
Cut Dekal to size using scissors or a box cutter.
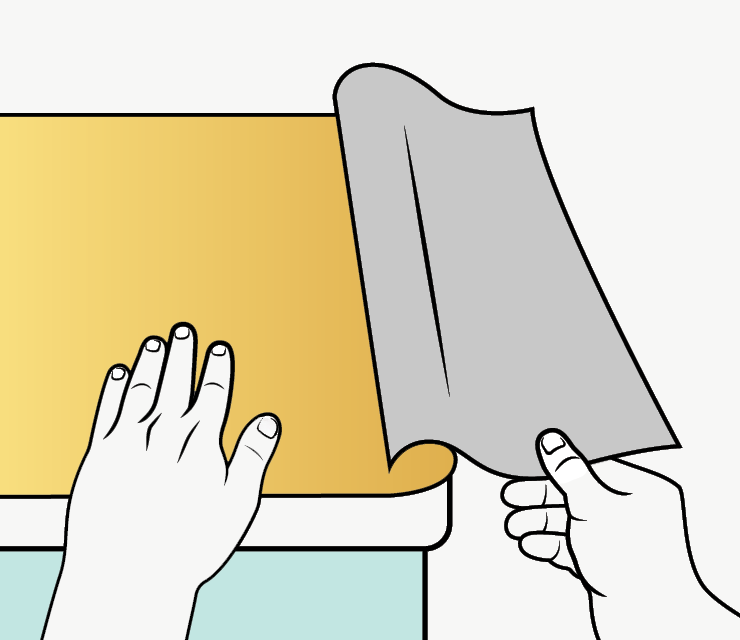
Step 3
Peel
Peel off part of the backing paper and apply Dekal to an edge.
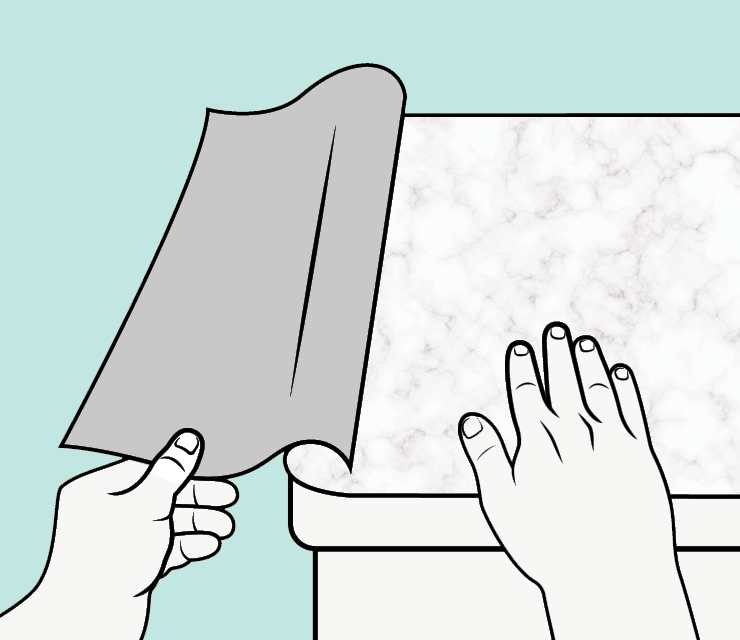
Step 4
Apply
Slowly peel back the rest of the backing, pressing Dekal onto the surface a little bit at a time. Use two hands to stretch it as much as possible, keeping it flat and straight to avoid bubbles.
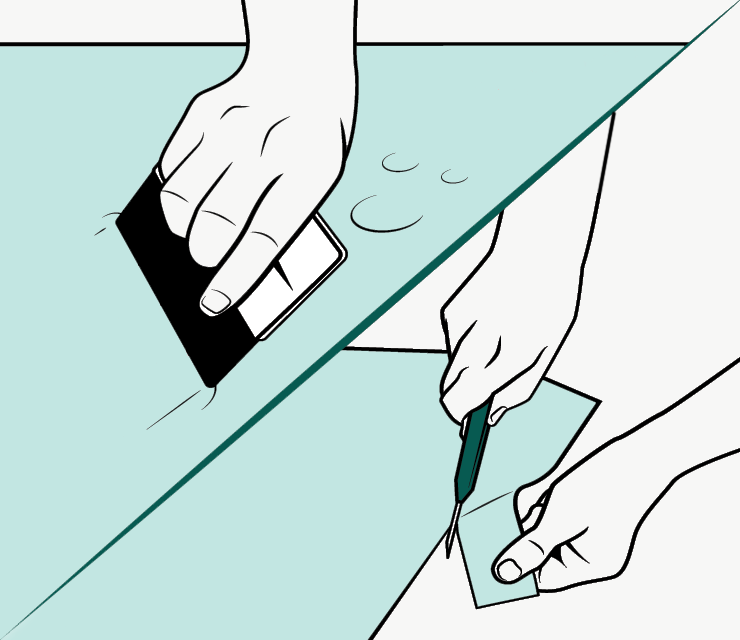
Step 5 (Optional)
Use Applicator Kit
Smooth out any air bubbles with the Smoother from the Applicator Kit and trim any excess Dekal with the Cutter.
Step 6
Removal & Cleanup
When removing Dekal, gently peel it off and, if any adhesive residue remains, apply clean water to the area and allow it to soak for a few minutes. The adhesive will soften, making it easier to remove with a spatula or non-abrasive scraper.
Tips and Tricks
Prep Like a Pro
No deep cleaning required—just wipe down your counters to remove crumbs and grease, then make sure they’re dry. That’s it!
Measure, Cut & Cover
Use the grid on the back to cut the perfect fit. Give yourself a little wiggle room (about ¼ inch extra) and trim after applying for a crisp edge.
Smooth & Stick
Start from one side and press down slowly, smoothing as you go. Air bubbles? Just push them out with a smoother tool or soft cloth—easy fix.
Oops? No Problem!
Dekal isn’t clingy (at least for the first few hours). If it’s not quite right, gently peel and reposition—no stress.
Round Edges? You Got This!
For corners and curves, just press Dekal around the shape. Need a little extra flexibility? A quick blast of a hair dryer on low helps it hug the surface.
Removing Dekal After Pesach
Slow and steady wins the race. Any leftover adhesive? Soak the area with warm water for a few minutes, and it will do the trick.